The Field Guide
The Official Yellowstone Blog
Feature Highlight: Home Screen Settings
Get the most out of your app's Home Screen.
Today we're going to take a quick look at managing the modules on your app's home screen using the Home Screen Settings.
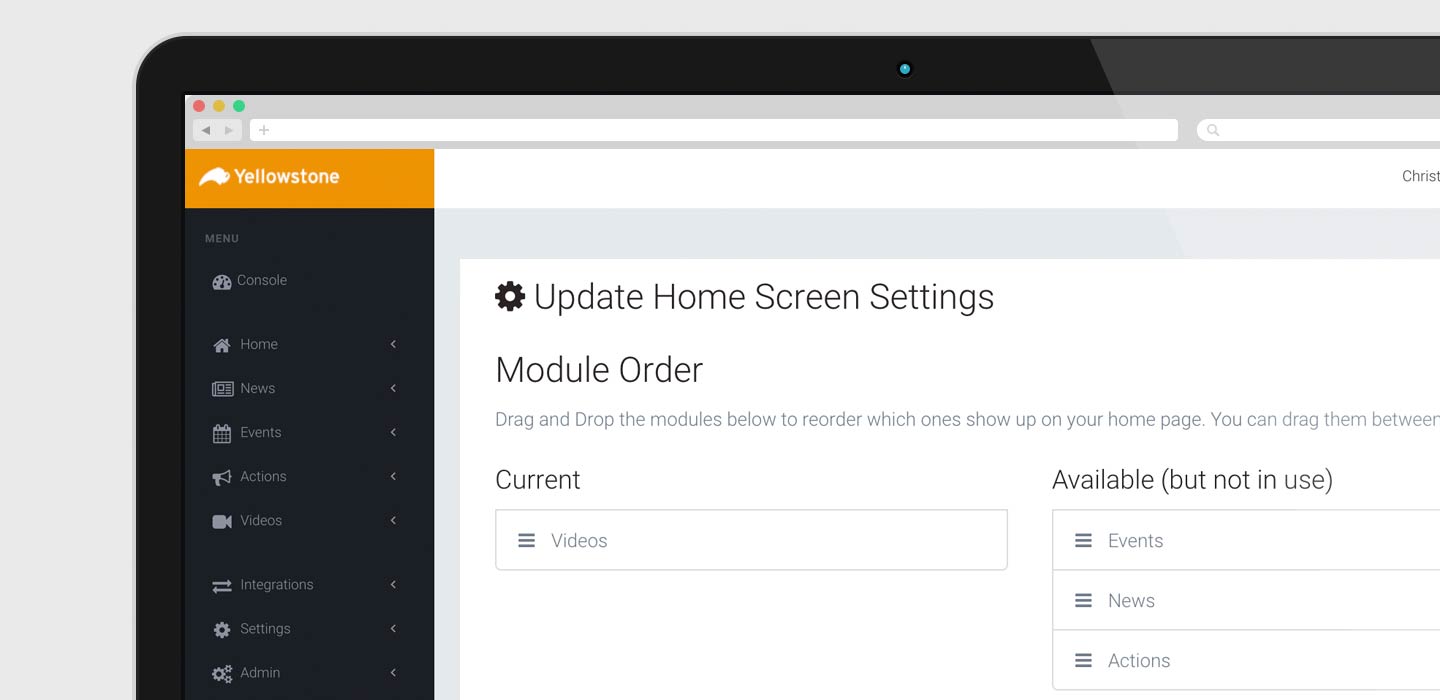
First, to get there, click the "Home" button in the Yellowstone Console's main menu. Under the button will appear a gear icon and the option for Settings. Click that and you will see something similar to what's below.
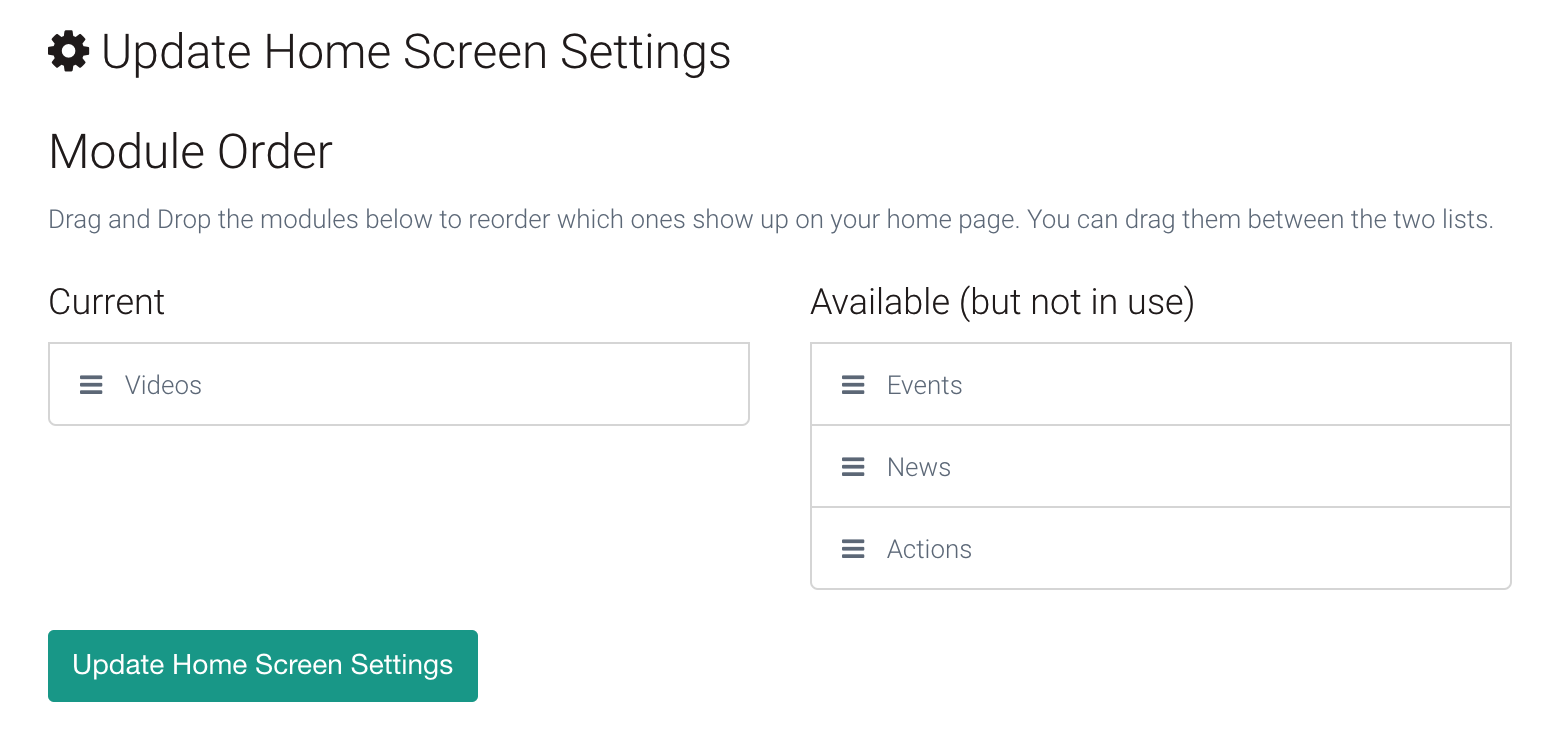
On the left side are all the modules currently displayed on your app's home screen. On the right side are modules that are available but not currently displayed on the home screen. This allows you to have News active in your app (and accessible in your app's menu) but not necessarily on the home screen. Moving modules left or right does not affect their status in your app overall, just if they're displayed on the home screen.
One thing to keep in mind: your News, Actions and Events modules all support Feature Images. Any content that is published first in those modules that include a Feature Image will display that image on your app's home screen regardless of where that module is on the home screen. For example, a News item with a Feature Image that's list first will display that image even if your News module is the last one on your home screen.
Make sense? Great… let's make some changes to your home screen.
Adding a module to your home screen is as easy and dragging it from the right side to the left side.
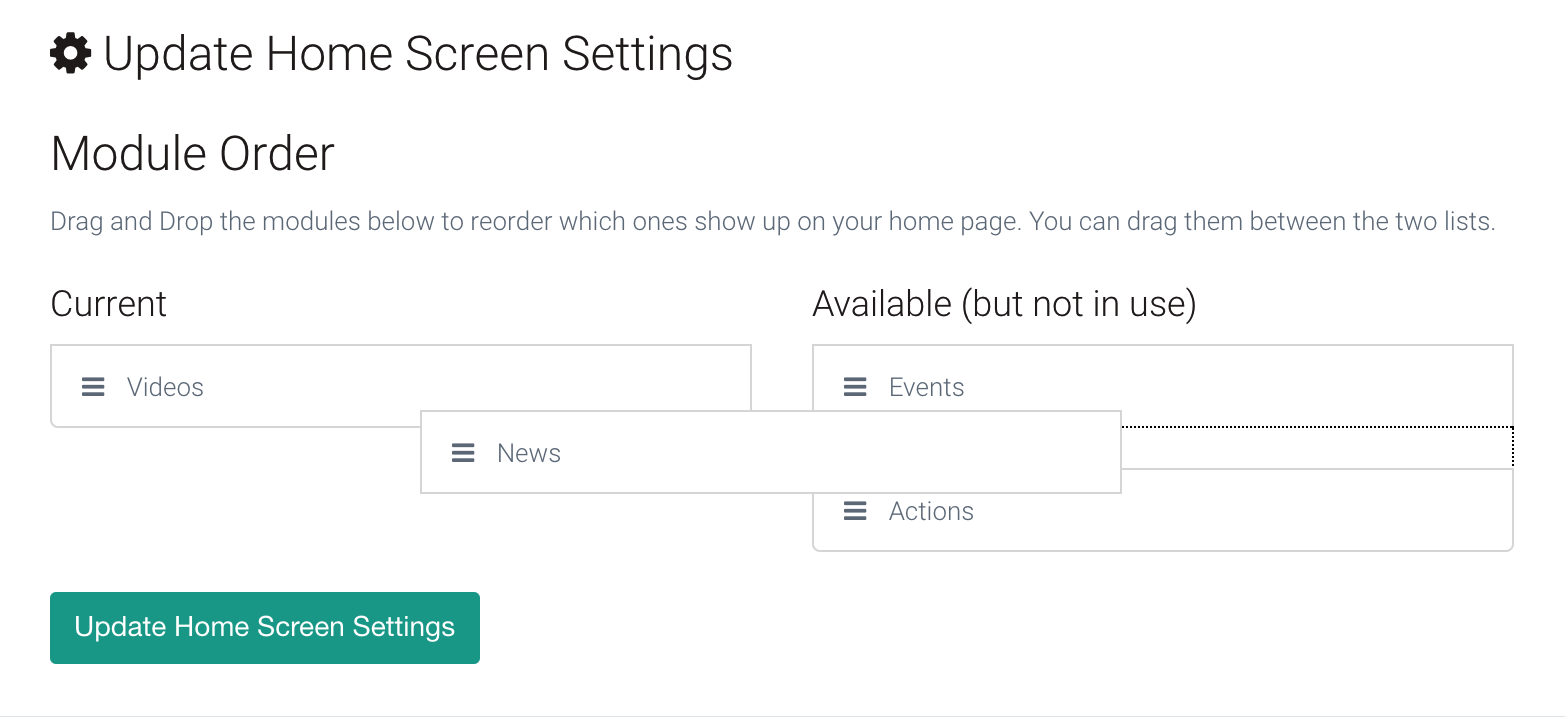
You can also quickly reorder the modules on your home screen the same way. Want News first and Videos last? Drag the News module to the top of the list on the right and drag Videos to the bottom of the list. Simple as that.
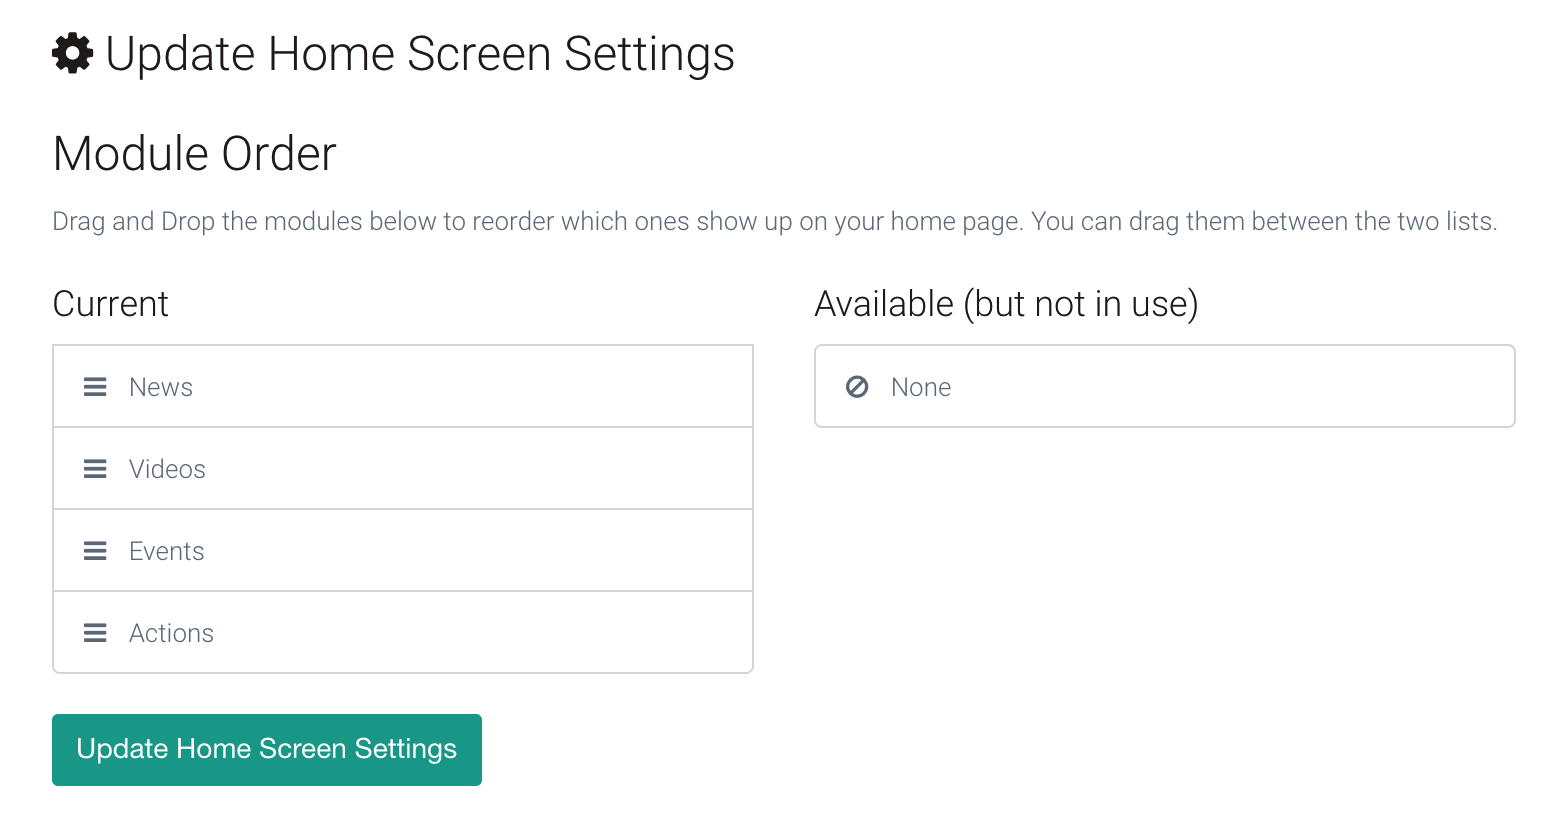
If you have added all of the available modules to your home screen, you'll see "None" listed in the available list.
Once you're finished adding and arranging your modules, click the "Update Home Screen Settings" button and the next time you access your apps Home Screen, you'll see your new layout.
Piece of cake!